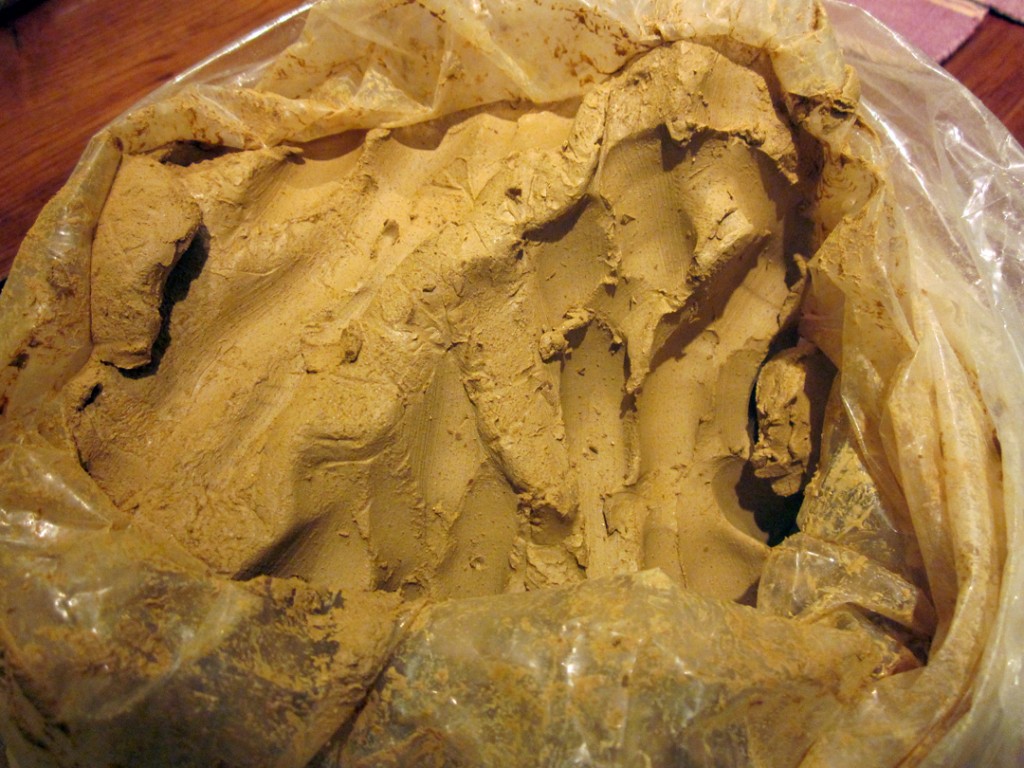
Oh boy! Wet clay, fresh out of the bag! The smell of it reminds me of vacations by Sierra lakes and rivers. Decomposed granite, water and rotting organics, mmmmmMMM! This bag of lovely Sandstone Buff is from Quyle Kilns in the California Motherlode town of Murphys, so my nose is right on.
Fresh clay like this is sticky, mushy and makes great slime if you get it wetter. It takes any impression, any shape and, if it’s not piled too high or too thick – or if it’s supported – it holds as it dries. We’re not sure just how humans began to take advantage of the fact that clay changes in the fire, but we know that raw clay lined many Neolithic holes in the ground or baskets, the world over, and accidentally got baked hard. This particular feature of wet clay is a not-so-hidden agenda in the Beginning Ceramic Handbuilding class I’m currently teaching. First Project, after all the intros, handouts, clay studio tour and ground rules? The Press-Molded Wad Pot.
Forgive me a few more words and then onto the eye candy.
This way of using fresh clay is so obvious it’s almost NOT a clay handbuilding Official Method. At best it gets a sidebar or an “Also Try This” mention in the dozens of books and websites I consulted for deeper understanding. Sometimes that mention is in the Coiling chapter, sometimes in the Slab working chapter. It doesn’t really get respect.
It deserves better and I’m giving it that because it’s a fabulous and supportive (pun intended) way to get comfortable with the forming properties of clay besides making lumpy mudpies. It lets clay be clay and learners be learners. It directs attention to good clay skill-building: evenness, surfaces, top edges and drying, but keeps some training wheels on to help a thoughtful ceramic artist have the full experience AND a successful result. Here’s a pictorial walk through the only thing I’ve ever heard it called besides simple press molding: A Wad Pot.
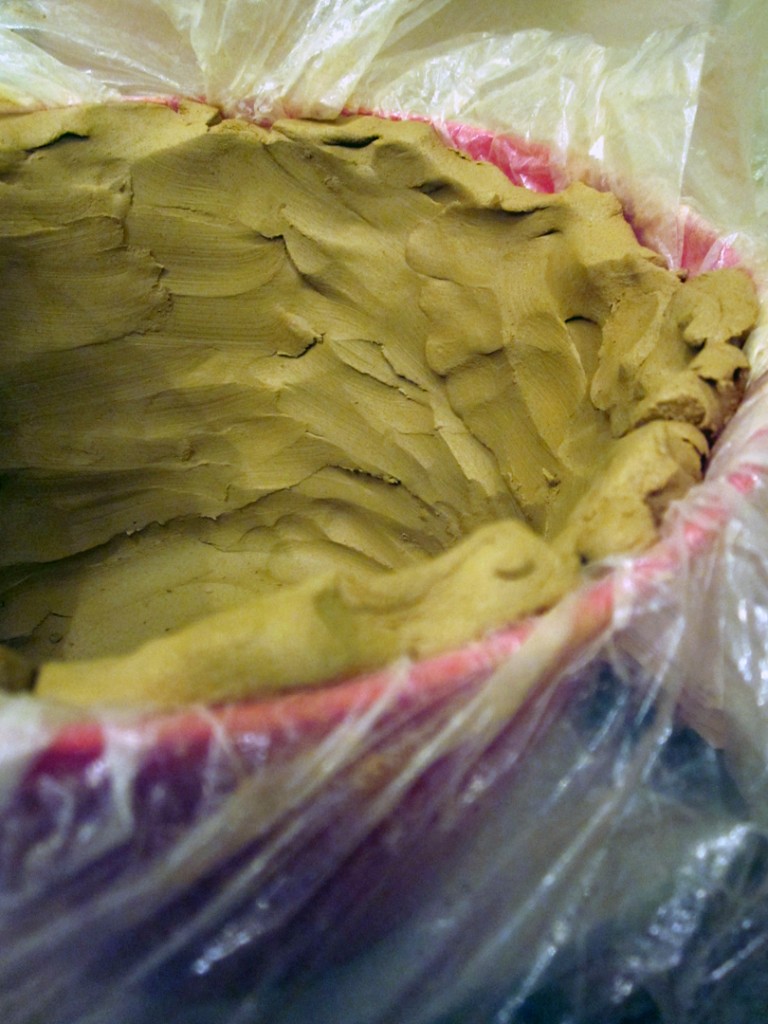
Get yourself some wet clay, about 5 pounds, any kind. Find a container with an even top rim, without undercuts – so your pot or bowl will slide straight out of it and not get caught – like this “Popcorn Bucket” from the local dollar store. You can also use traditional plaster or wood slump molds. You’ll need some thin plastic if your container isn’t made of something porous that will release the clay. Gather a few rounded sticks or spoons as smoothing devices besides your fingers. And start in.
Open that bag of clay and inhale deeply, just because. If you need to, line your mold with the thin plastic. Don’t worry about how wrinkled or folded it is, that’s part of the texture the finished pot will enjoy. (And a little secret: you can remove this wrinkling later by smoothing the outside if you’re called to it.)
Grab a random-sized pinch of clay, maybe the size of a golf ball. Mush it around (aka: kneading). Pat it into a flattened shape, 1/2″ or less thick and place it at the bottom of your mold. Do this over and over, lining the bottom and sides of your mold. Pressing the edges of each piece into the others, smoothing and linking the surface only as much as you want. Feel where the thick and thin places are and adjust accordingly. You will go back over it all when the mold is completely lined.
So, fast forward to a finished top rim edge, smoothed and strengthened, a bit of drying and an un-molding. Here’s what you’ve got:
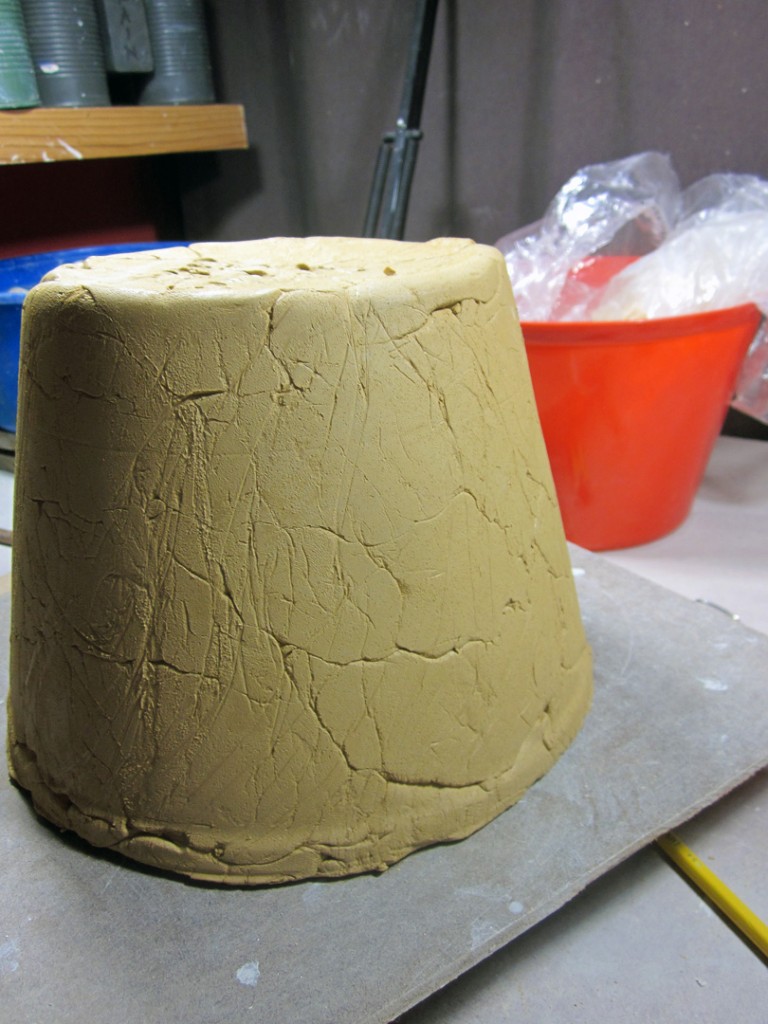
See all those great creases and wrinkles? Leave them alone for a great natural surface…or smooth them with a rib if you must. Press the bottom in a little so it will sit evenly and sign it.
I’m thinking you left the outside alone, so here’s the bisque fired version, wrinkles intact.
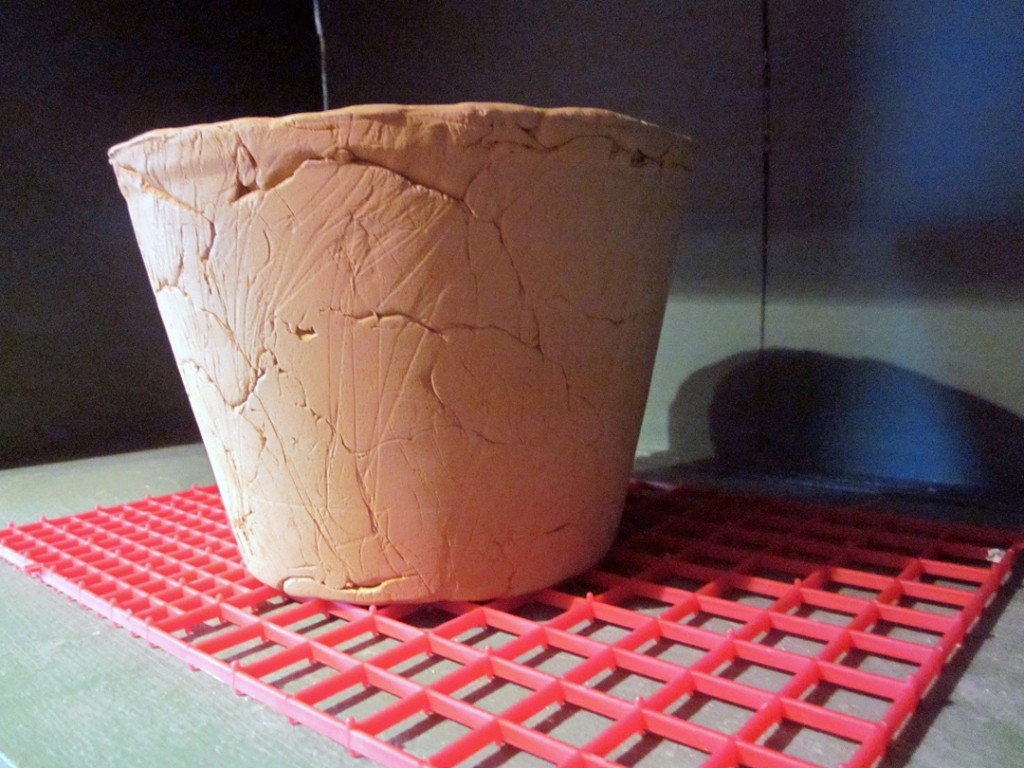
What serves to decorate this kind of pot and honor it’s hard-won (or is it hard-left-alone?) surface texture? How about a patina wash: thinned iron oxide wash brushed on and then lightly sponged off to leave it mostly in the cracks? It’s OK to glaze the smooth inside if you like. And that would look like this:
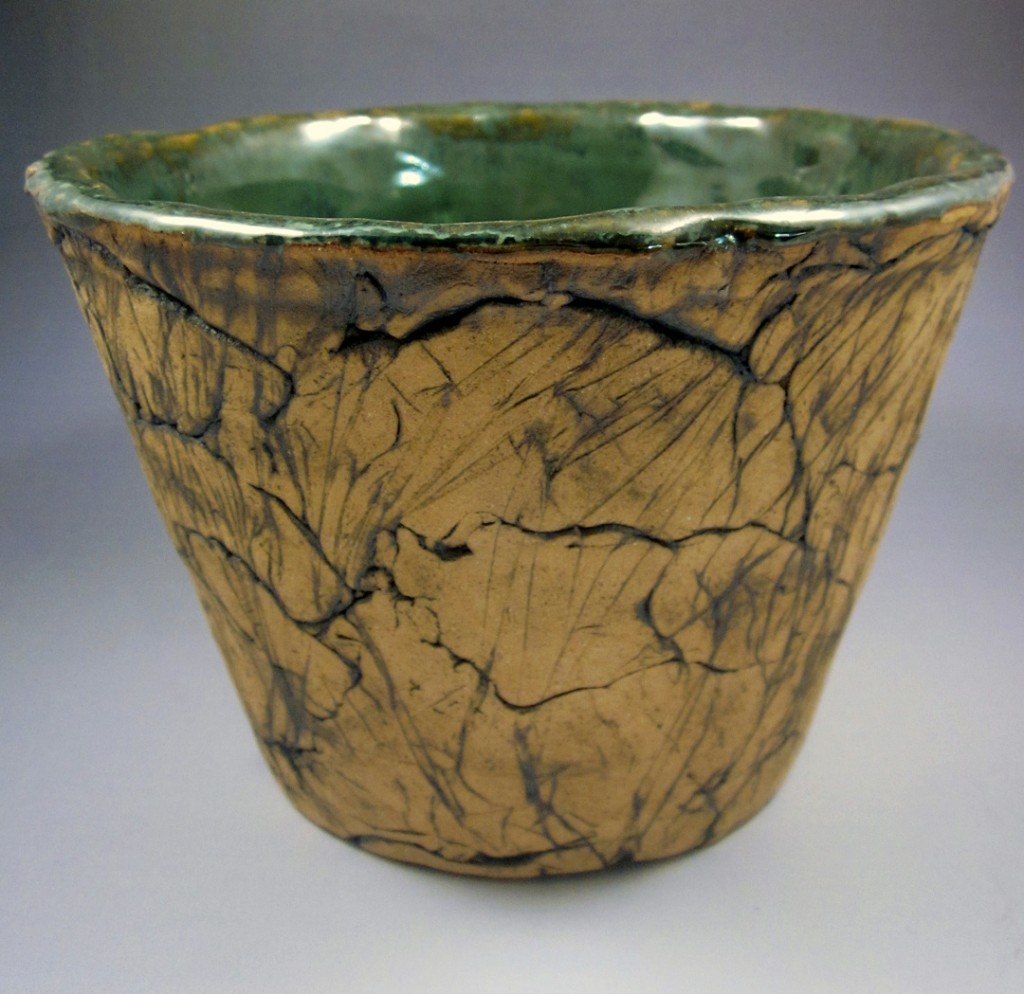
So, there you have it. An awesome and supportive first project for beginners….or anyone else needing a fairly assured way to make a pot. And quickly!
Variations are legion. Use different mold shapes. (Just make sure your clay will release easily.) Use evenly rounded wads or coils or “floils” – flattened coils. Smooth the outside cracks. Add stuff to the top rim. Change the shape of the pot once it’s unmolded: square it up, push out from the inside, you know what to do. Don’t smooth the inside as much. Add handles or a top rim edging. The beat goes on.
As I finally get to posting this, my class is 2/3 over and going quite nicely. The second and third projects: Traditional Coiled Pueblo Pots and Pinched Japanese Style Teabowls have been introduced and students are working to finish and decorate to suit. More on the rest of the whole experience soon, of course.
Happy Clay Trails.