UPDATE: This sad tale of ceramic breakage with a happily-repaired ending was first published January 21, 2012. I DID make the hangtags I refer to within, but I wound up keeping this sentimental piece. It deserved a good home: mine!
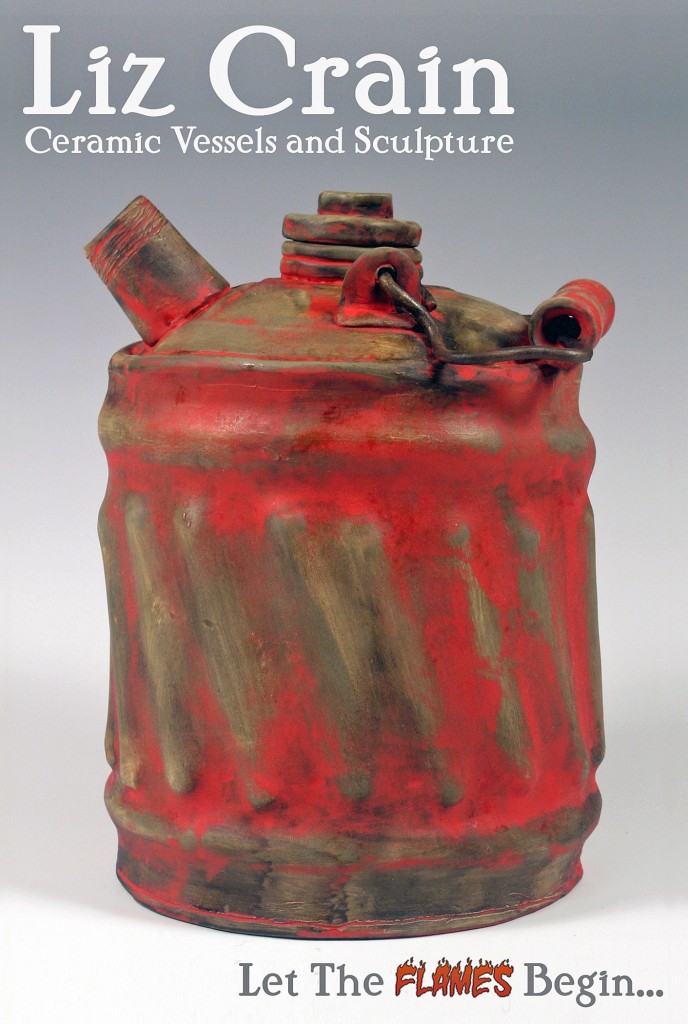
When I first began to make faux metal ceramic cans and containers – several years ago now – I created a classic red gas can, just like the one which sat in our garage next to the lawn mower my whole childhood. I titled it Dad’s Gas Can and I liked it so much I used it as my 2010 Open Studios postcard image. (That’s the postcard above.)
I’ve made dozens and dozens of cans since then, a lot of them similar to this iconic one, but each unique. The original stayed preciously seminal to me and I tended to hang onto it. Last fall I offered it for sale for the first time and, as can happen with ceramics, it got broken.
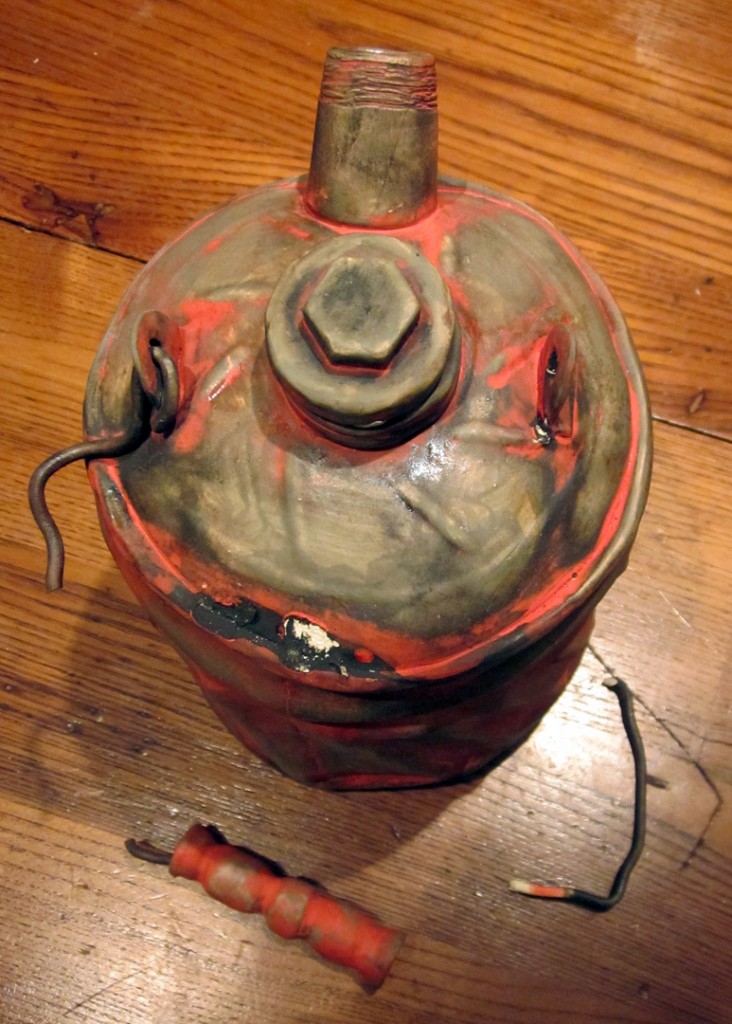
How it got broken is a retail story with a twist. The customer touched it (which with ceramics you want them to do!) but he fell for the trompe l’oeil-ness of my work because he also assumed the handle and bail wires were functional. He ham-handedly grabbed that handle balanced so nicely on the rim and pulled. He pulled hard enough to exclaim, “Hey, this handle’s stuck!” and pulled harder still. He unstuck that handle, all right, shattering the ceramic “wires” and then……..he walked out of the gallery!
No acknowledgment of his destruction. No payment.
I posted my disgust and pain on my Facebook page. Commiserators suggested a small hangtag on each piece saying something like, “Hi I’m not a real handle, I only look like one.” (Some also suggested a firing squad for those who “walk the ticket” and don’t pay for breaking things.)
One commenter shed a beam of brilliance on my situation by observing that not everyone out there understands what they’re looking at in the ways that I and my ceramic art colleagues do. And to the uninitiated, a handle is meant to be used, right? So naturally they’re going to give it a try. That susceptibility is built into the kind of work I choose to do. I’d never thought of that and realized the hangtag idea was not only a necessity, but an educating kindness as well.
And happily, after really looking at the manner in which the piece was broken, I decided I could probably re-attach the unharmed handle to the unharmed body, re-fabricate the bail wires and bring it back to good as new. Dad’s Gas Can still had things to teach me.
First off, how to re-attach that handle so it would be a sturdy support for the new clay bail wires which would need to be fired? Glue was out. Besides, I wanted a re-fabrication not just a glued-on repair.
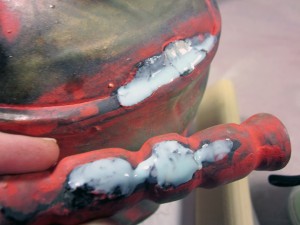
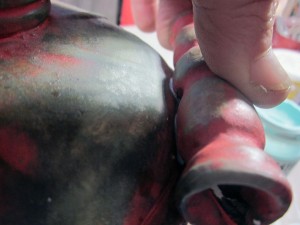
There’s an art to using clear glaze as a heat-set adhesive. Mostly we try to avoid glaze sticking things together and we counter that with waxes and resists. In this case, it’s using that fusing property to our advantage. But judiciously and respectfully.
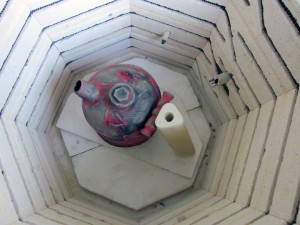
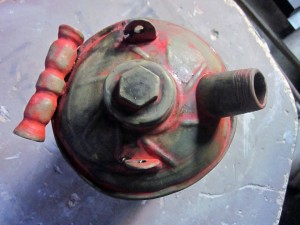
For Goodtime Insurance, I leaned a tall kiln stilt onto the outside edge of the handle in case it should slide out of place, which would have made the piece truly unrepairable. Because the outside was finished entirely with underglazes, I chose not to use anything to prevent the stilt and handle from sticking together. But when it was too late, I began to worry that was a mistake. Whew.
Next up, re-creating those bail wires. This proved to be as straightforward as the process I go through in the first place. The only real consideration was creating enough play for natural shrinkage around points that were already vitrified and as shrunken as they were gonna get. It would be a bummer to get the new wires happily crafted only to have them crack because they got stuck and couldn’t move in place.
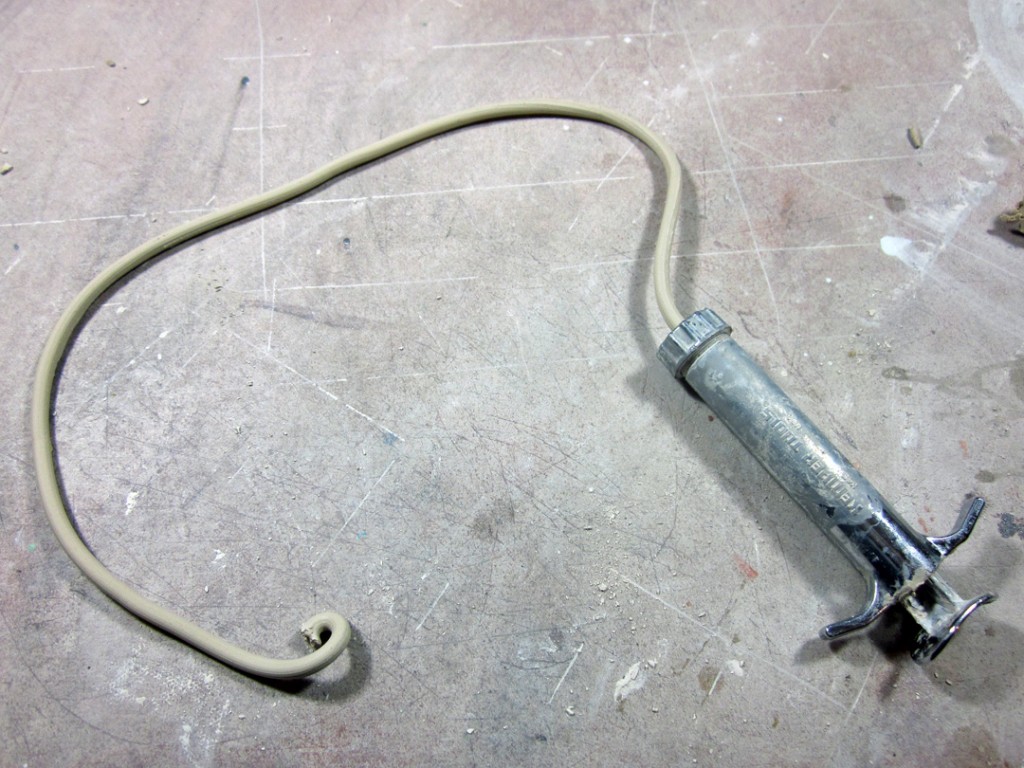
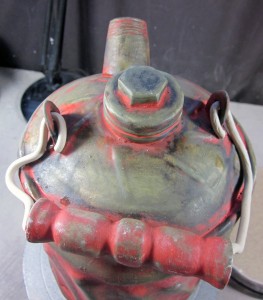
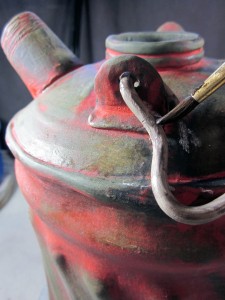
There were a few markings on the top left by the former bail wires, so I used them and photographs of the can to help me form the new wires into a semblance of the first rendition. In the years since I made this can, I’ve learned how to support the wires better within the circumference of the top and gave these new wires the benefit of that experience as well.
I was tempted to just leave things out to dry, but I decided to dry them slowly under plastic for a few days and candle overnight before cranking the kiln up again. This time to a lower temperature than the one I fired the handle re-attaching to: don’t want that glaze to get too soft and stretch anything!
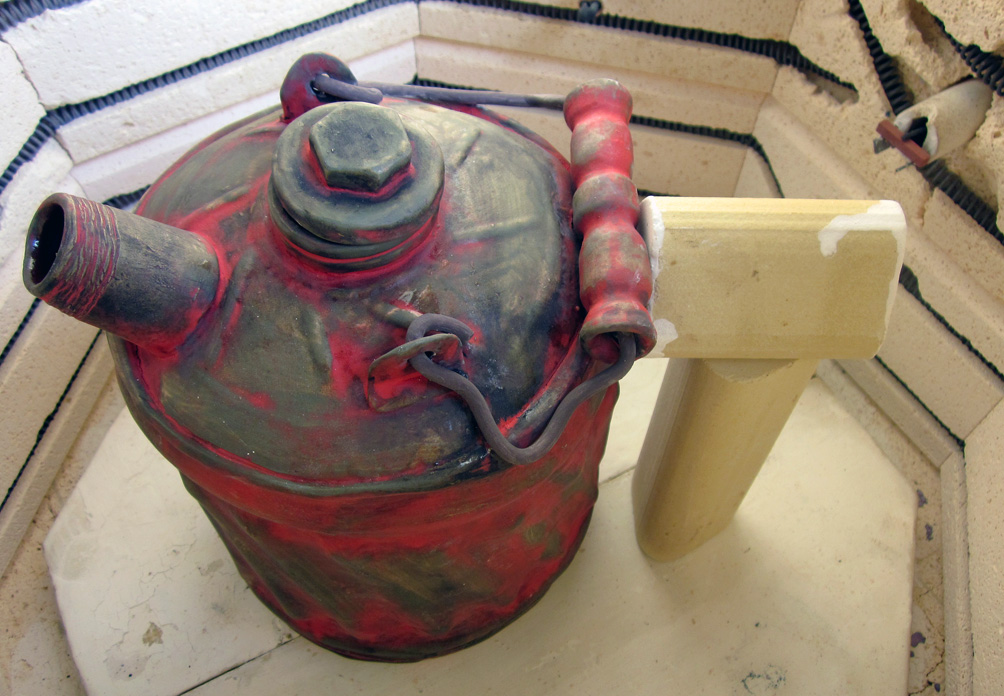
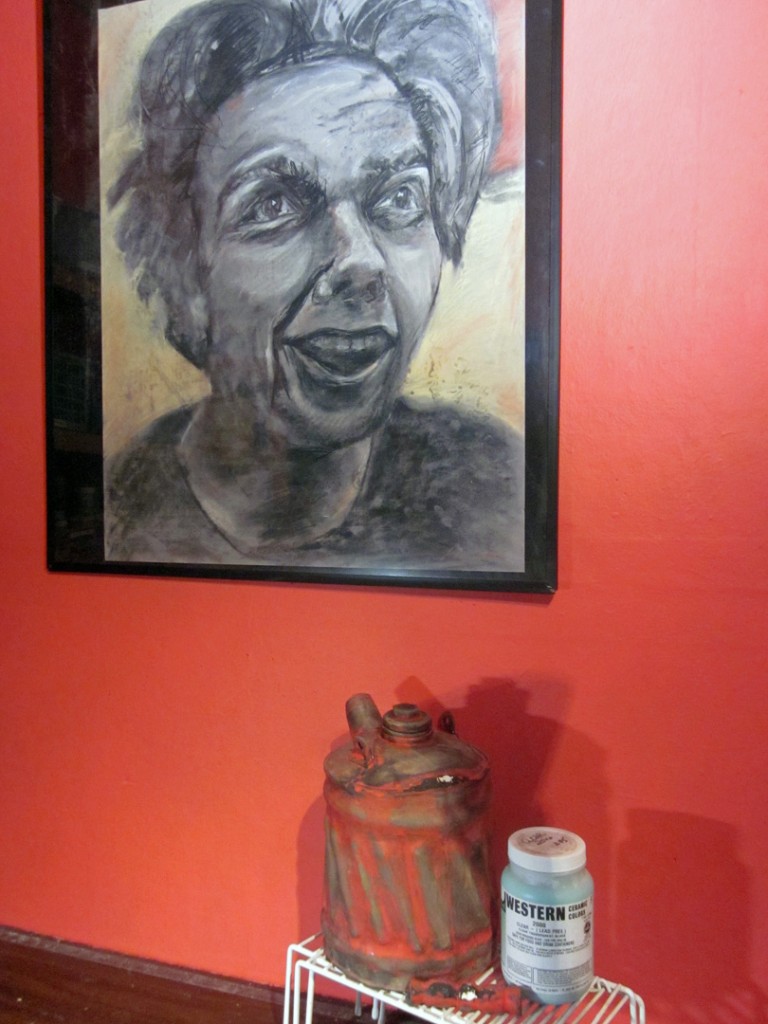
And here’s the good as new (maybe better!) re-attached handle and re-fabricated bail wires on Dad’s Gas Can. All it needs now is a friendly hangtag to help folks know that it’s ceramic trompe l’oeil.
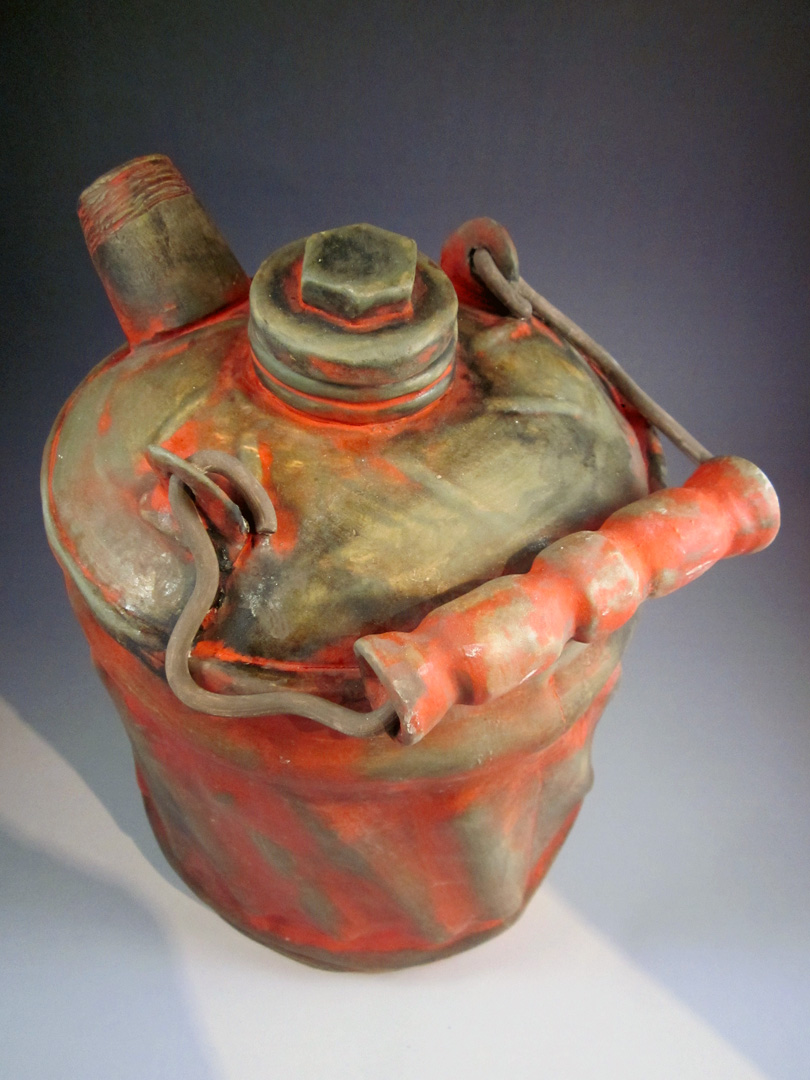
Liz Crain, who has learned the hard way. For another tale of breakage and redemption you can read the recent “A Crack Camouflage Job.”
[…] fool the handler so well that… You can read about how I learned this lesson the hard way in “Hey This Handle’s Stuck.” No matter what I do – and I use Quake Hold on every lid and even “Hi I’m Not a […]
This is a great tutorial that I will use and share with my students.
Hi Bernadette!
Thanks for poking around my blog and I’m thrilled you could find something useful. This clay stuff is just full of twists and turns and tricks, especially when we’re called to step up and invent processes. Maybe we find resourcefulness we never knew we had. I think that’s one reason I stick with it over all the other art-making methods out there.
Thank you Bob and Terry and Roger and Carolyn for stopping by here! Your enthusiasm has encouraged me to repair a few trickier pieces that are hanging around. Some of them I broke all by myself! It might work and for sure there’s not much to lose except a little time. I just might post about going for it regardless of outcomes, empowered as I feel now.
This is what I love about you Liz, the term “an educating kindness” is something that tells a lot about who you are. Thanks for sharing the steps of the repair process. This is one of my favorite pieces.
Beautiful repair job on this! So happy the efforts paid off – the piece is certainly worth it!
So glad you were able to repair this wonderful piece!
Most excellent Liz! I’m very impressed with your work, and perhaps more impressed with your attitude!
We will chat more I’m sure, and I neeeeed a piece of your excellent work! (My Dad had a gas can too!)
Bob