Recently I saw a couple of these Ikea carts in a small apartment and mentioned this hack to their owner. Then I thought to re-run this post, originally published May 20, 2014. This rolling work surface is still in use and still the most versatile I have. And what with my still tiny studio, I greatly appreciate how I can tuck it out of the way. Some ideas are good for awhile only. This one’s a longterm keeper. Here’s the original post:
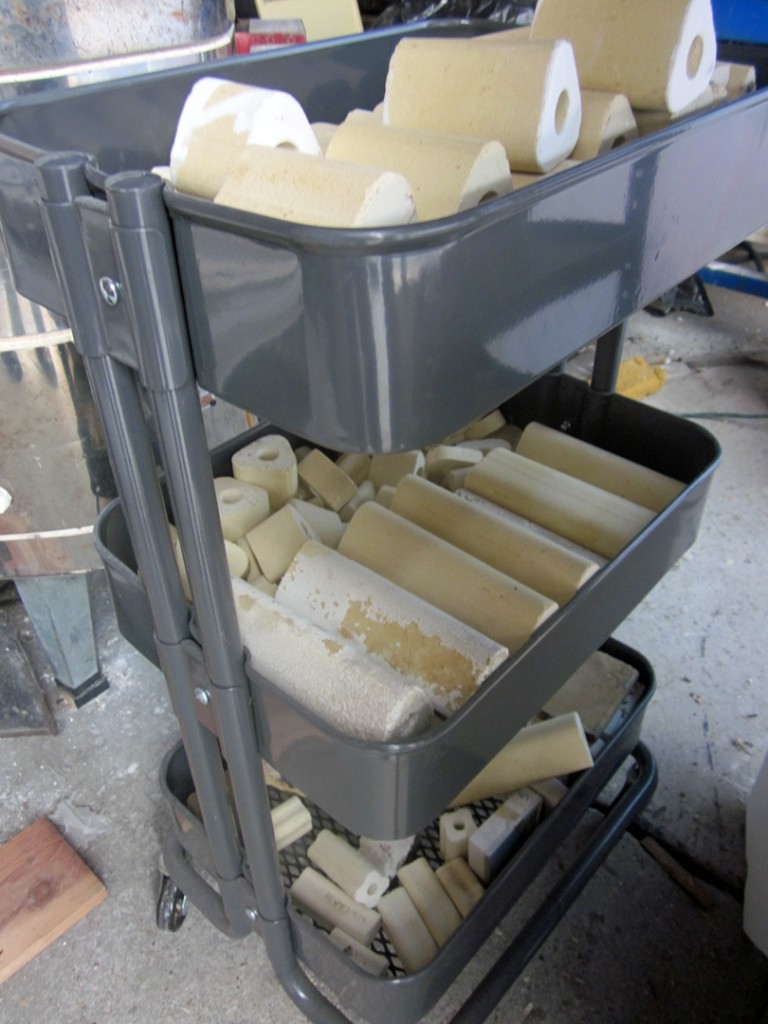
Meet a sweet small Ikea rolling cart. This gray one was bought – a little dented and scratched, but fully assembled and discounted by 40% – in the AS IS section which is by the checkout at most Ikea stores. It was my second cart and even if I didn’t exactly know how, I knew it would be an asset. It has found a home rolling around among my three kilns holding my stilts and small props and shelves. Sweet indeed!
But I really want to tell you about my first Ikea cart, the powdered turquoise one that we appended.
Let me roll a short photo essay and show you how, with a bit of lumber, canvas and staples, the lil cart became one of my most versatile pieces of studio furniture.
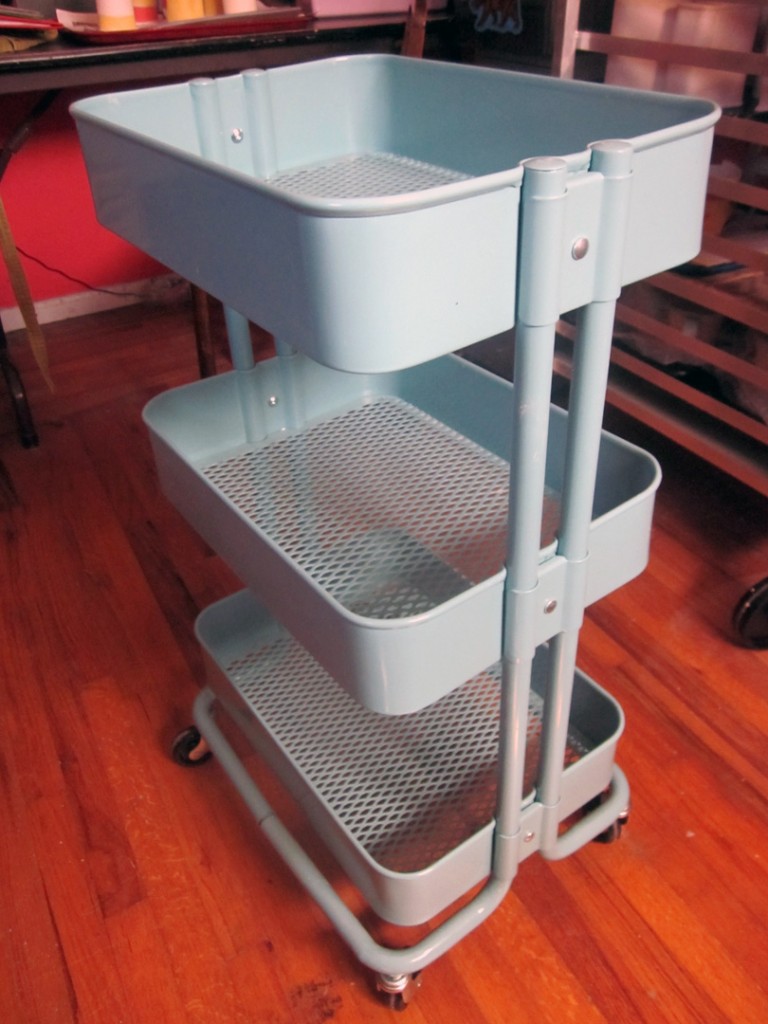
Above is the basic cart. I assembled it myself and it was only a little wonky – which has since settled out: SO proud! I was originally looking for a smallish movable cart for a sculpture project. I expected to just balance a larger wareboard on top, but Mr. Crain orchestrated the perfect solution.
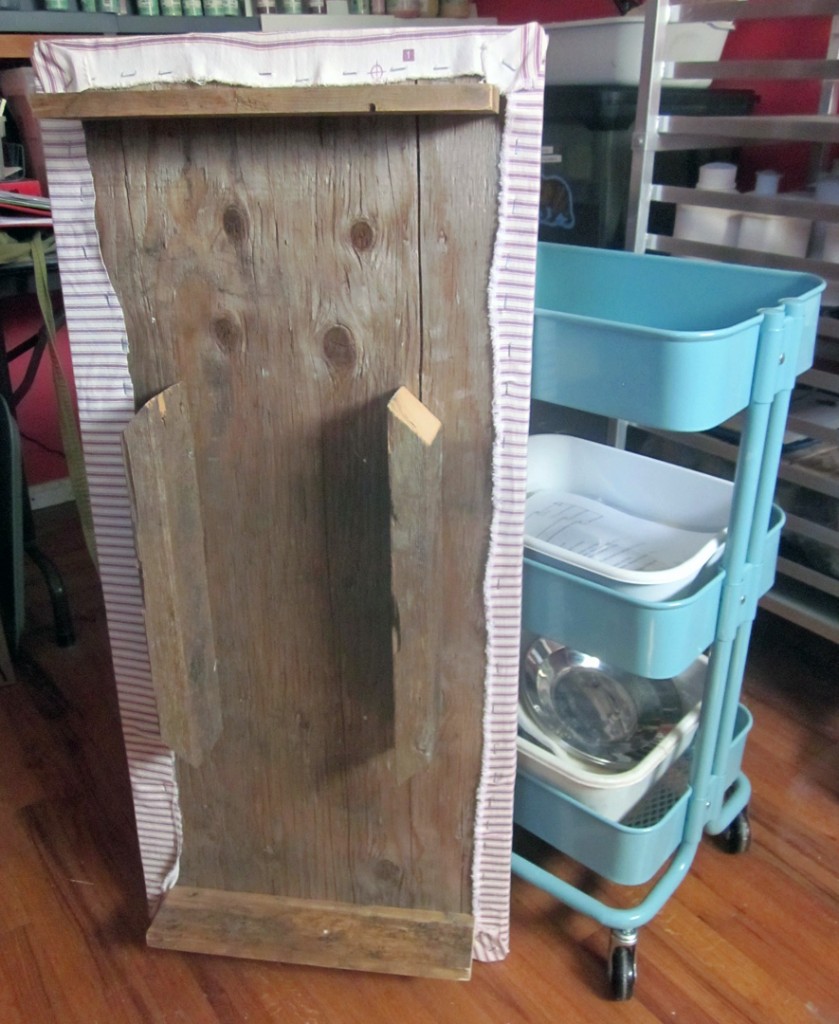
Take a thick piece of plywood and cut to the size you want. Measure and cut some scrap 2x4s to made a stable center insert for the top shelf. Bevel the ends to fit the rounded corners. The shelf is secured by the 2x4s, but still removable. And if you need to hide something, that top tier still has a secret space!
Optional, but nice: Since my board was long and the sculpture was too, Mr. Crain added some 1x4s at each end so the plywood would not tip when removed from the cart and set on the table or floor.
I added a stapled-on canvas top made from some stylish ticking I’ve had since my first ceramics class:
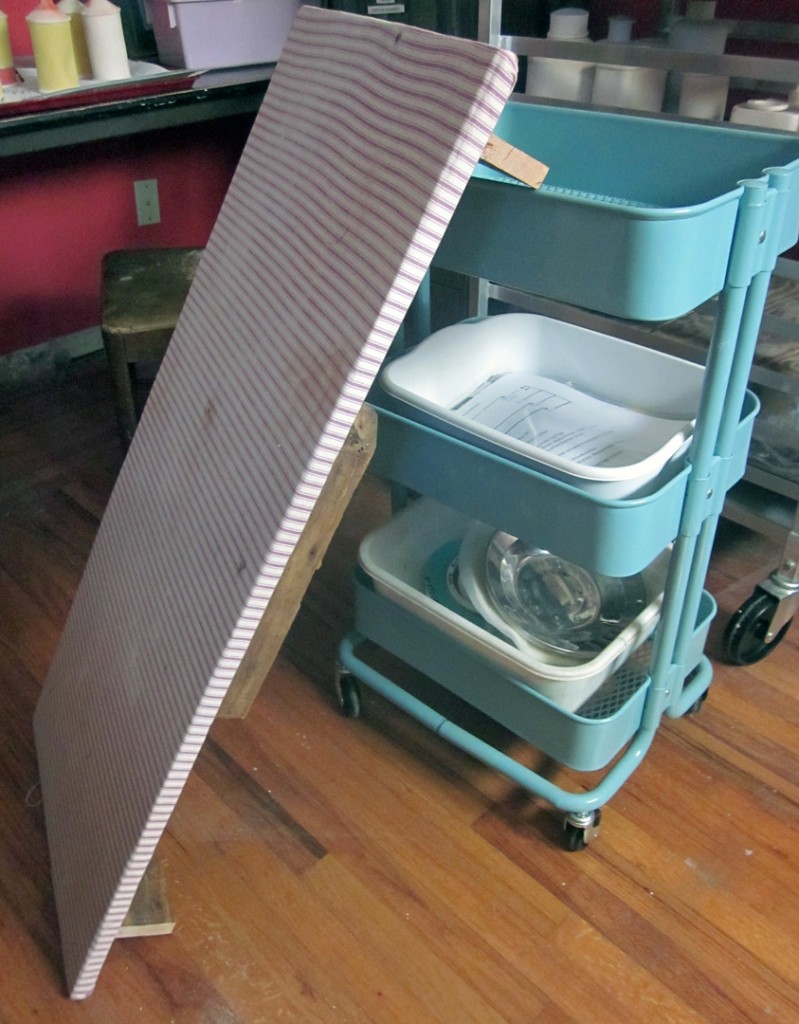
Here’s the cart at work in my studio:
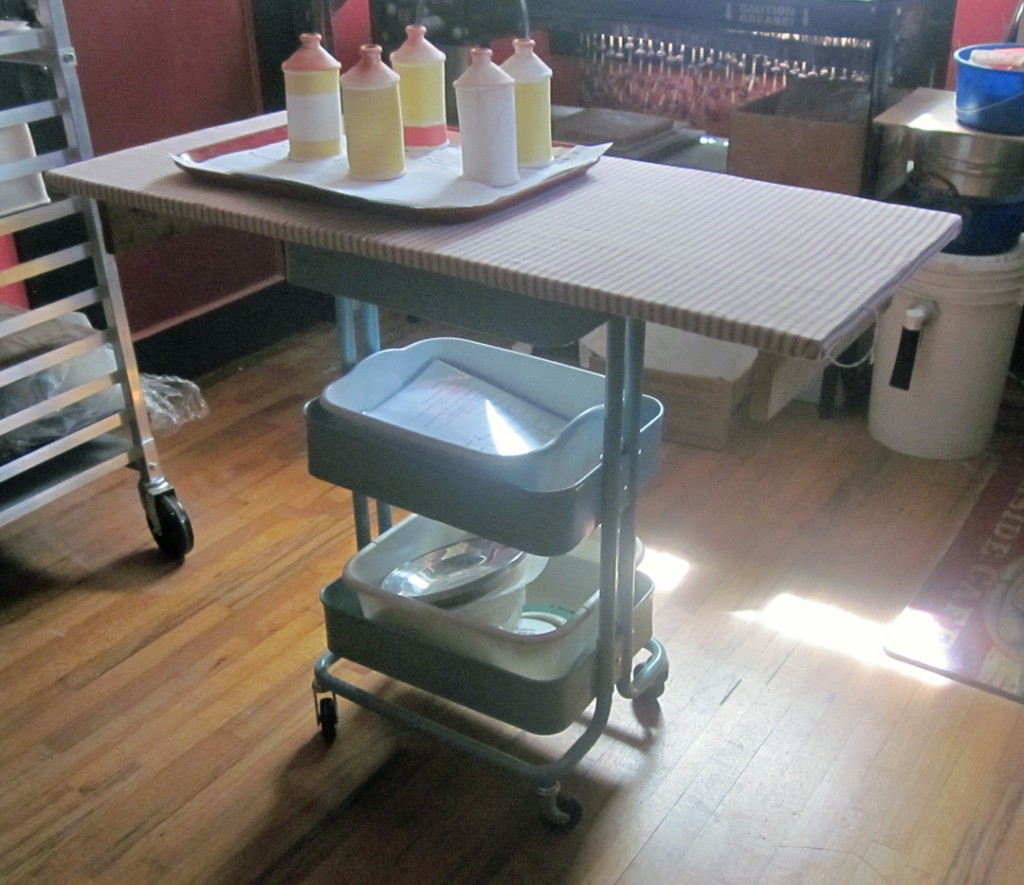
I quite often move it to one side, or even angle it for better access to the glaze closet. It earns its keep. The two bottom shelves hold dish tubs of currently needed tools and molds. I always know where they are.
I forget what is under the plywood in the top tier. Guess I should look soon.
–Liz Crain, who values ergonomics and multi-use equipment almost as much as planning ahead and finishing before the due date.
Ah you and Mr. Crain……got a thiiiiiiiiiing going on. Sung rather badly off key as no one is home right now. Ticking? Hah, I hadn’t seen that textile word in a long long time. Love this idea!
I loooooove ticking. And I think I will keep Mr. Crain nearby. We all go together. 😉
Love the stylish ticking, Liz. I love the way artist’s make something their own.
Liz, I purchased and put together a hand cart tonight! It’s a big sucker…they market them as carts you can put all of your gardening needs onto and wheel around. It’s 4′ x 2′ wide with nice LARGE sturdy tires that will hopefully be able to handle uneven terrain. I’ll know after Thursday’s Farmer’s Market in Carmel! They’ve moved us to a nicer location scenery wise and hopefully foot traffic wise, but the load in is going to be MUCH TOUGHER. Have to wheel my display and pots in from the street into a park and then move the van…you know the drill. Part of what makes the farmer’s mkt fun is how easy it is (was).
The getting it put together went per usual with directions from some other country! At first I thought I had it made – all of the parts were numbered, in the directions that is – alas, they weren’t numbered anywhere else – not in the container they came in and there were no pictures except for the larger parts. Example: take bolt #7 and washer #14 to attach…Had to guess which nut, bolt, washer went with which part – fun – NOT – but I did get it done. Thank goodness for socket wrenches!
I keep a two tiered cart with all of my underglazes in the studio.
Your carts are cool – I really like the addition of a removeable shelf workspace – GOOD IDEA!
Bonnie, I feel your pain! Not only about cart assembly (and I hope yours works nicely for you) but also about all the loading/unloading/transporting. There is nothing really about clay work that is light – then add a big dose of fragility to the mix. Sigh. We need all the improvements we can find!