Hacking an Ikea Cart

IkeaCArt5


Recently I saw a couple of these Ikea carts in a small apartment and mentioned this hack to their owner. Then I thought to re-run this post, originally published May 20, 2014. This rolling work surface is still in use and still the most versatile I have. And what with my still tiny studio, I greatly appreciate how I can tuck it out of the way. Some ideas are good for awhile only. This one’s a longterm keeper. Here’s the original post:

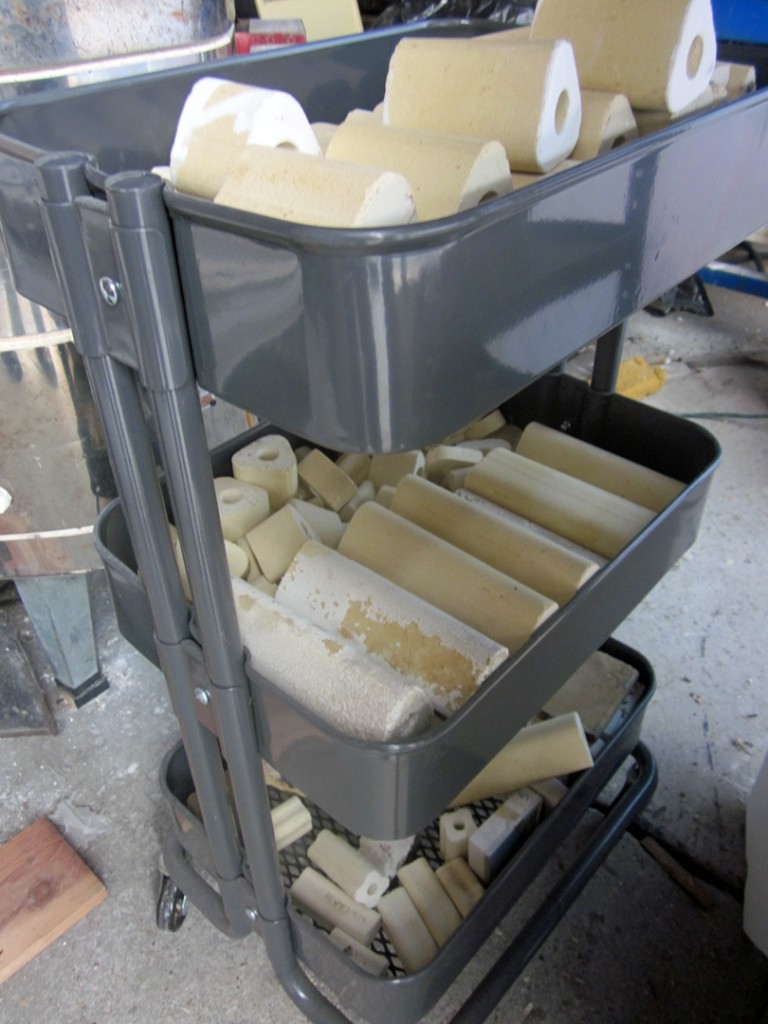
Meet a sweet small Ikea rolling cart. This gray one was bought – a little dented and scratched, but fully assembled and discounted by 40% – in the AS IS section which is by the checkout at most Ikea stores.  It was my second cart and even if I didn’t exactly know how, I knew it would be an asset.  It has found a home rolling around among my three kilns holding my stilts and small props and shelves. Sweet indeed!

But I really want to tell you about my first Ikea cart, the powdered turquoise one that we appended.Read More >

Share this:

Spouting Off


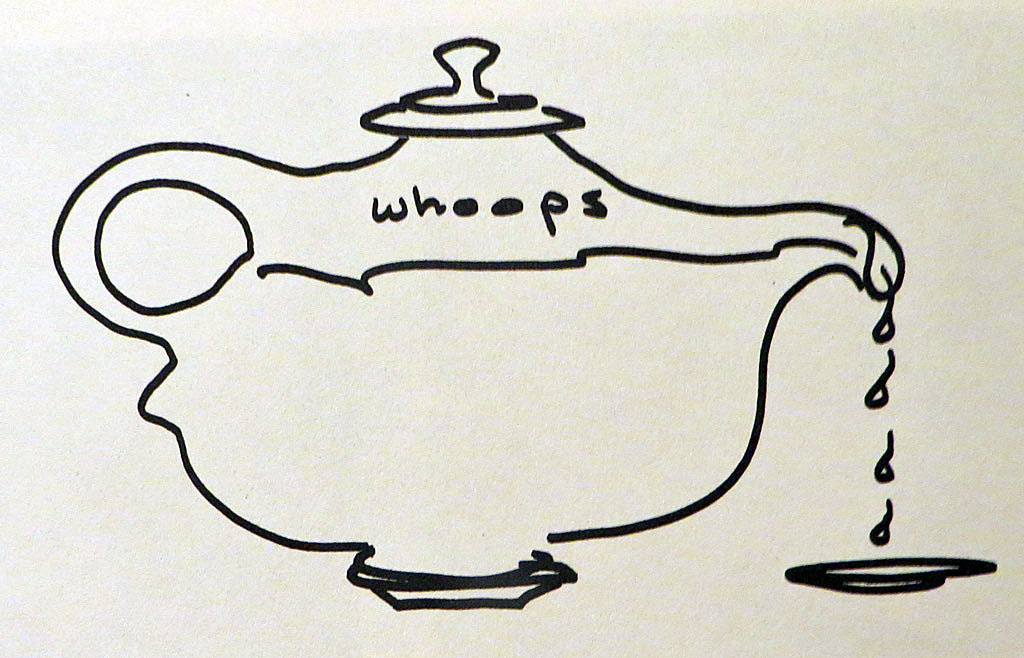
Drawing of Teapot Spout Fail
Dripping Spout drawing in “A Potter’s Workbook” by Clary Illian, University of Iowa Press, 1999.


The spouts of functional pouring vessels have to do two things: deliver well and hopefully look pleasing. Stint in either task and ya got problems, some less bothersome than others. And after my last post about the snub-spouted Cube Teapot, it might be manifestly simpler to say that functional spouts really have only one thing to do: pour well, if not flawlessly.

So what, specifically, goes into a smooth-functioning spout, whether on a teapot, pitcher, ewer or creamer? Yes, style still counts, but for now we will just explore how precise forming affects better function.

Read More >

Share this:

Helping An Old Friend

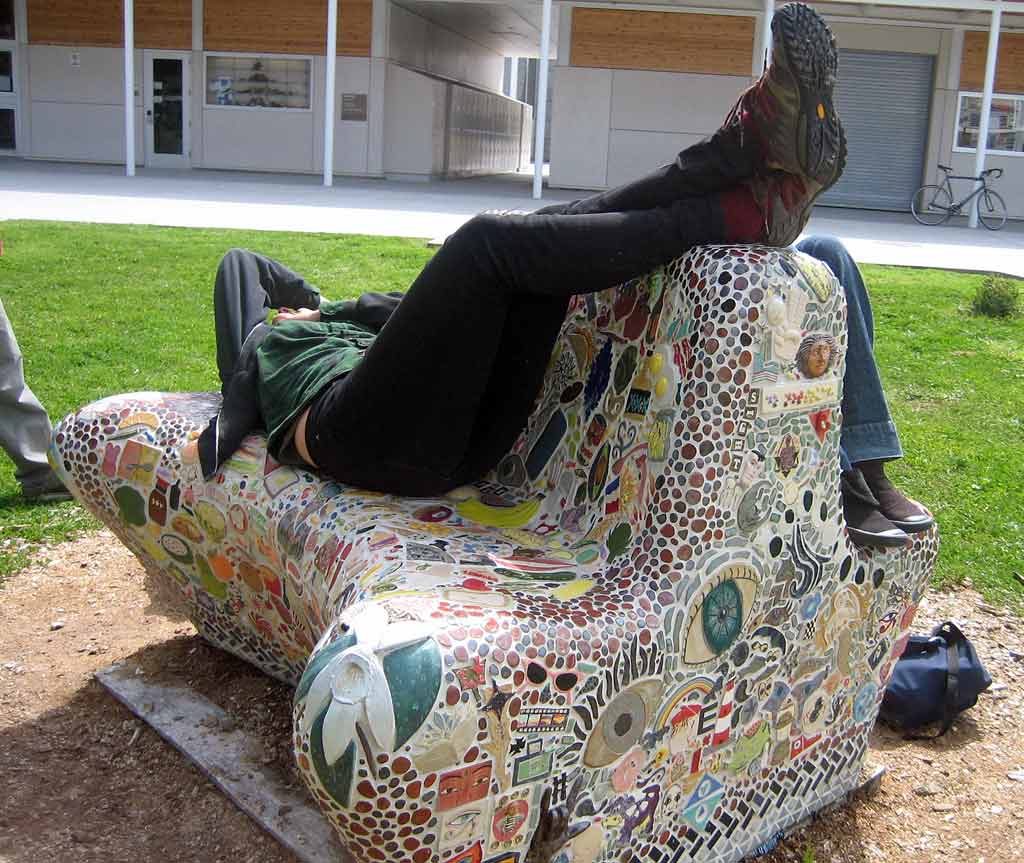
Students using mosaic bench


Once upon a time… 

a whole bunch of Sculpture and Ceramics students made a large freeform mosaic bench. It took four years and I was ringmistress for the last two of them. After another two years it was installed in its permanent location in the new Art Quad at Cabrillo College. That was seven years ago as of this writing. It’s weathered a few winters, droughts, preschool field trips, freeform mime-dance performances and hundreds of lounging students. It’s a landmark and a meeting place. A sentinel and a touchstone. And, one day, a tile broke off…

Read More >

Share this:

“Hey, This Handle’s Stuck!” or A Pictorial Diary of a Ceramic Repair


UPDATE: This sad tale of ceramic breakage with a happily-repaired ending was first published January 21, 2012. I DID make the hangtags I refer to within, but I wound up keeping this sentimental piece. It deserved a good home: mine! 

Read More >

Share this:

Smart Ceramic Troubleshooting

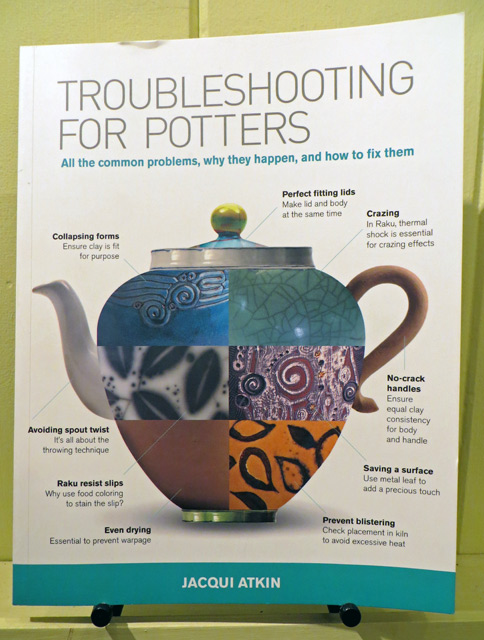
Cover of the book Troubleshooting for Potters by Jacqui Atkin


If you’re involved in clay, you certainly know you’re involved with problems. Some of them you asked for just by stepping into your creativity. Some are borne of being a beginner in the medium and you learn by doing, making plenty of mistakes, and doing again. These are good problems to have! Dig in and have a blast.

Then there are the un-asked-for and un-fun problems. The ones that repeatedly spoil things and you can’t seem to shake. Whyyyyyy? The possible solutions start to be more specific and scarcer. Maybe you find yourself scrambling to learn the applied chemistry, math and physics you thought you never needed. Or you’re seriously delving into a study of cracks and explosions, dunting and shivering. Advice differs. Opinions vary widely and sometimes there are just too many of them. And now it seems you need help with triaging both the problems and the possible remedies.

You need an intelligent and reliable reference book.

Read More >

Share this:

Soup Can Tool Caddy


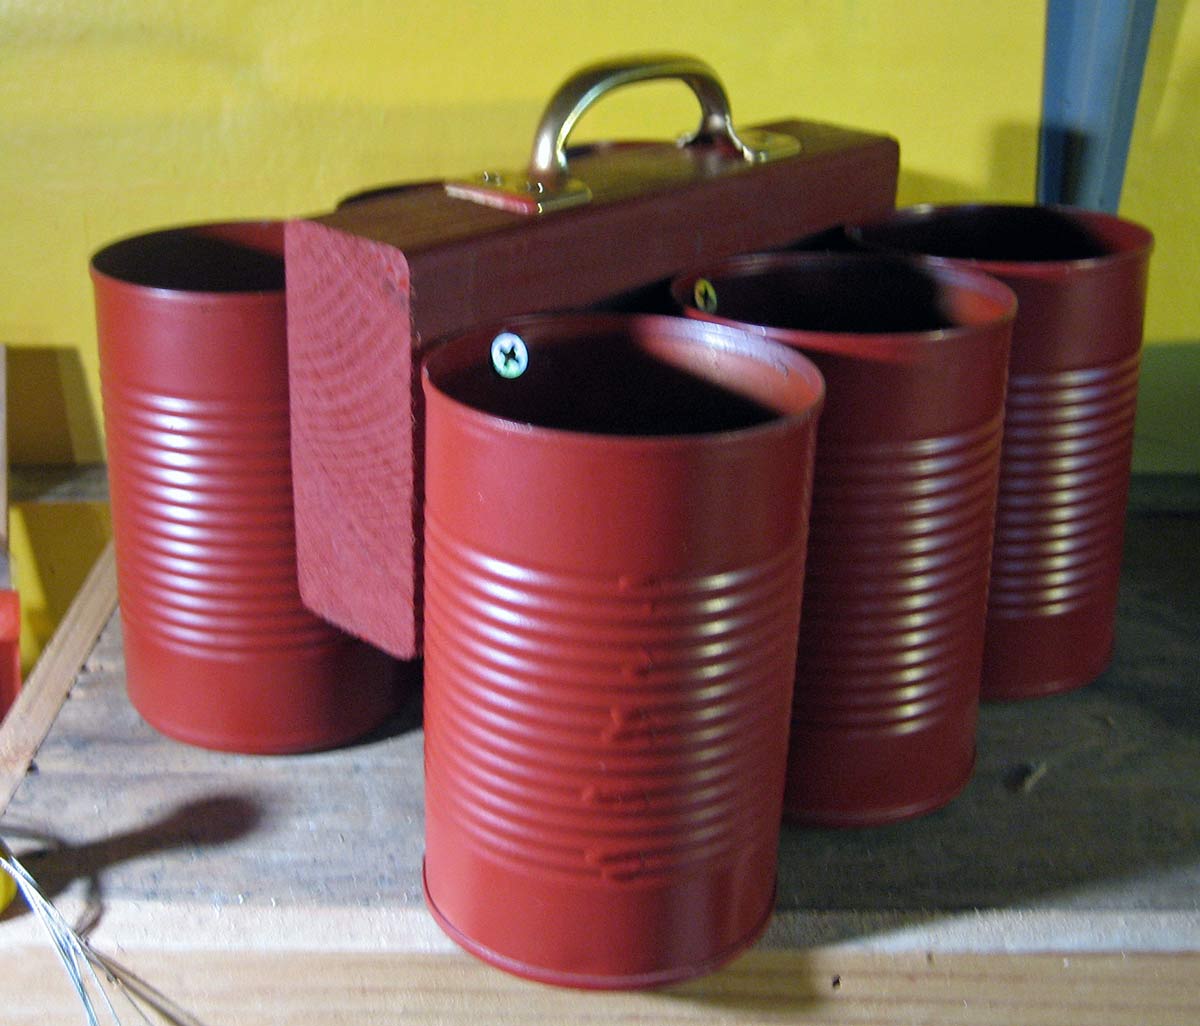
Homemade Tool Caddy of soup cans, handle and wood


POST UPDATE: This post was originally published on September 3, 2009. I am repeating it because it is just one of those ideas which need to circle round every five years or so and it’s a bit overdue. I still have all of the caddies I made seven years ago, going strong and serviceable. Whenever I have one with me in a class or workshop, folks want to know more. I wound up taking copies of the instructions to give the serious inquirers. I did make an industrial-sized caddy and it’s great for holding bigger stuff: rulers, dowels, long-handled anythings. Hope you enjoy yours.

Original Post:

If you’re as much of a tool geek in your art as I am in mine, you most likely need a Soup Can Tool Caddy, so this post is for you and you and YOU! (And for word-wrangler Cynthia Morris who has admitted she just likes to say, “Soup Can Tool Caddy.”)

I wish I could claim I dreamed up this drop-dead obvious assemblage of simple, cheap and recycled things, but I can’t. All I know is the day I saw it in the Suggestions From Readers column in the January, 2005 issue of Ceramics Monthly magazine, I knew I was gonna make it.

The original parts list and instructions came from Michell Follett of Oakland, CA. There’s definitely no ‘e’ at the end of Michell, and I found her once on Facebook: She’s sitting at her wheel, gesturing with a collapsed pot. Ya gotta love a potter with a funnybone!

I can’t find a link to the original blurb, but it’s short, so I will re-type the heart of it.

Take it away, Michell:

Parts List

six 15oz. aluminum cans, labels removed
six 3/4 inch screws
one 1 1/2x3x9 inch piece of wood  [My Note: Scrap 2x4s (techically known astubafors)…I have used shorter, just make sure it will span the row of three, mid-can to mid-can.] one 6 1/2 inch zinc-plated pull (handle)  [My Note: Shorter is OK here too] one can of Rustoleum spray paint.

Easy Instructions
Spray the cans (inside and out) and the wood with Rustoleum. Attach three cans to each long side of the wood (it helps to pre-drill holes in wood and cans.) Insert screws at an angle. Attach pull to top of wood.

Long-time Maker/User Comments from Me
I had the most difficulty getting it level, cuz I’m not that handy, really, so just spend a tiny bit of extra time lining things up before attaching.
If you plan to store anything wet, it wouldn’t hurt to punch a small hole in the bottom of each can for drainage.
If you’re at all concerned, of course you can re-spray if the paint gets worn.

So, in Full Disclosure, here’s how far it has gone for me:

And, Necessity being the Mother it is, this is my most recent addition to the fold, made from larger around, but shorter Trader Joe’s Premium Chunk White Chicken cans:

Got any fun-sounding titles for the new one?  L’il Chunky, or The Chicken Caddy?

For that matter, got any other interpretations in size/function? What about one from industrial, food service, Costco-sized containers?

I know for sure that if you make just one, the tools you have will be more easily findable and portable. And the magical-thinking part of me intuits that making one extra will attract all the other tools you want. Start rinsing out those cans!

–Liz Crain, who likes a simple thing done well.
Share this:

Molly Hatch’s Surface Design Book: YUM!

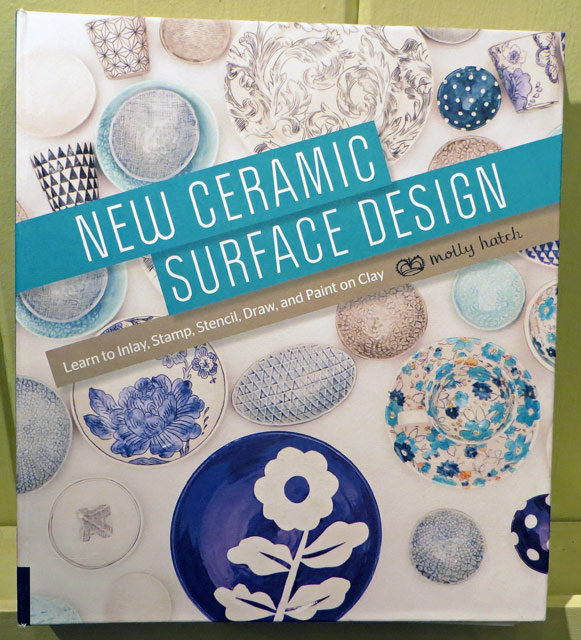
New Ceramic Surface Design Book Cover


Dear Molly,

Thank you for making the book New Ceramic Surface Design. It’s a corker and I am keeping it out for easy reference.

While I own a couple other treasured surface design books (Robin Hopper’s Making Marks and The New Ceramic Surface by Mattias Ostermann,) I have never read them cover to cover, penciling notes in the margins and flagging whole sections, like I have yours.

I know nothing you cover is a really new technique. Believe me, I have tried mishima, stamping, textures, doodles, resists, stencils and my favorite, sgraffito, many times before. I have watched DVDs, taken classes and explored the surface design chapters in many other books over the years. So what’s different and valuable about yours?

Here, I’ll tell you:

  • Your charming voice. I sense your playfulness and joy as much as your expertise.
  • The bounty of illustrations, which are large and generous but not gratuitous and don’t skip important details.
  • The Artist Inspiration pages. They are well-chosen and informative and spot on in their placement.
  • The Tools list and photo before every new technique.
  • The “Tip” and “Try It!” boxes sprinkled everywhere.
  • The sweet lagniappe sections: Templates, Resources, Recipes and Glossary.
  • The thoughtful discussions about inspiration, composition, color and lines.

What I really can’t wait to use:

  • The Saral Red transfer paper – because the wax in graphite paper and carbon paper have been giving me fits for years now. You just took away a major headache!
  • Washi Tape – it sounds like the perfect solution to my tape sticking and residue problem
  • Lightweight clear packing tape in order to make…
  • Transfer Templates! Again, you just solved another major hassle in being able to confidently place patterns where I want them.
  • After I settle down with the above remedies, I’m looking forward to generally fooling around combining and layering your techniques, marrying form and surface and having a blast.

It pretty much all comes down to you being the generous and knowledgeable “friend with a good eye” you speak of on page 34.

Gratefully yours,

–Liz Crain, who also thinks the spiral binding is a nice touch so this reference book and be fully referenced.

Share this: