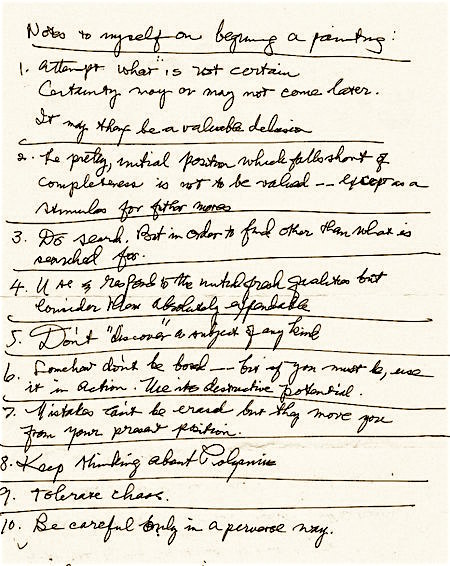
Richard Diebenkorn’s “Notes to myself on beginning a painting,” found after he died. (More readable version in the post)
While I aim to write something here once a month, the calendar commitment has never been the reason I write. Having something to say is. Ideally I want a wry and esoteric “situation” to pick apart from many angles and then sew back up, satisfied. And then, by giving my best phrases to my thoughts, to offer enough value to that exploration that it’s worthy of sharing. And that’s exactly why I’m stepping away from my Studio Journal for an unknown period. Do read on…
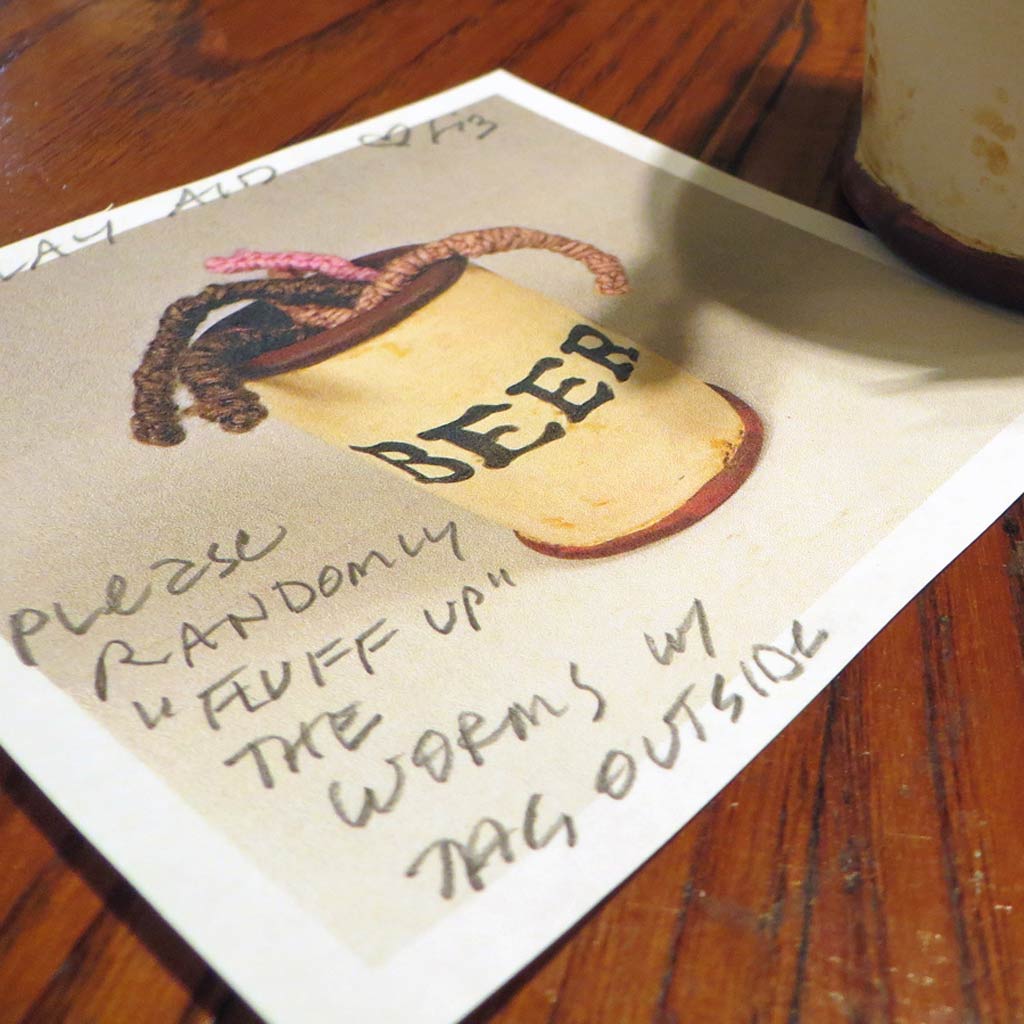
Many exhibits I participate in involve largish groups of artists and a wide range of media. My heart is with the curators, gallerists, display mavens and workerbees who handle and metaphorically rub the aesthetic tummies of often quite disparate pieces in order to create a cohesive, even inspired, presentation of them all. There are challenges galore to that effort every single time and I aim to ease their task in any small way I can with pictorial love notes.
An utterly silly photo about a very apropos analogy
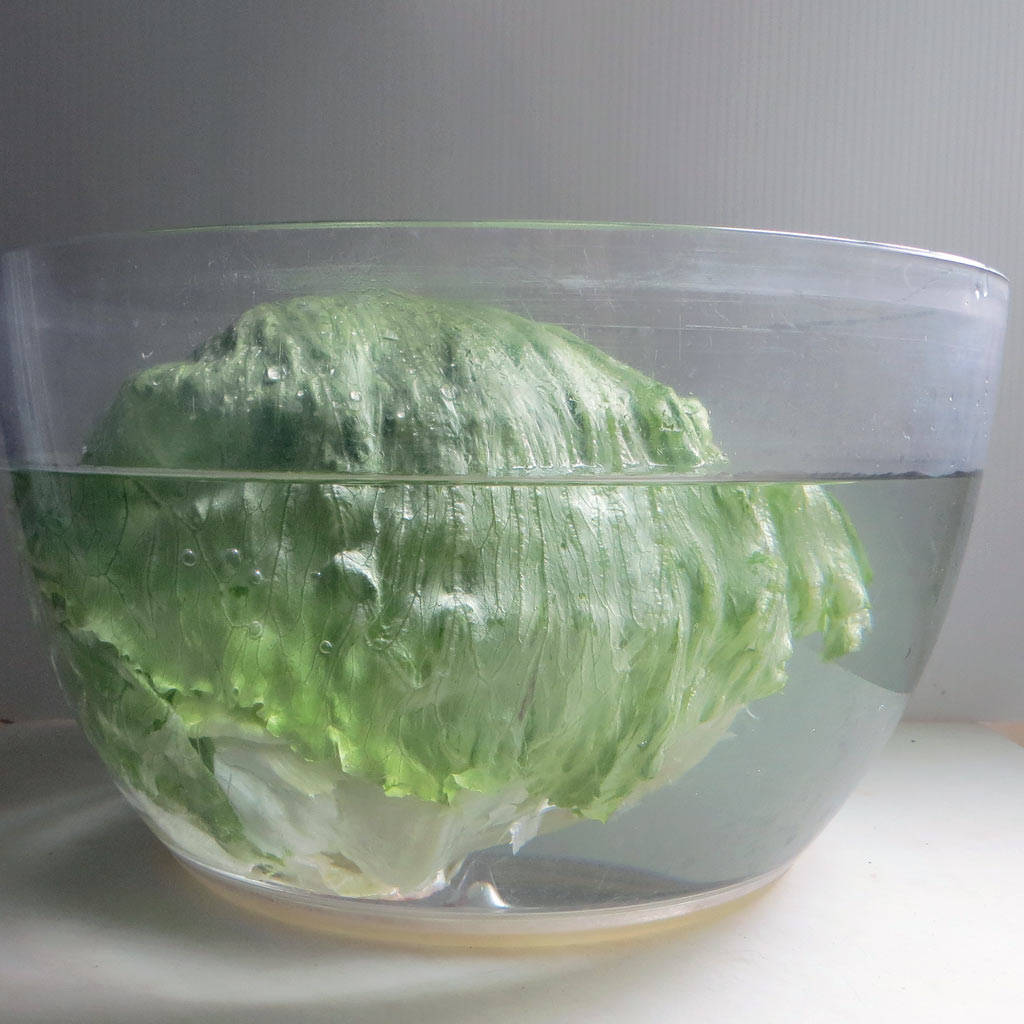
I wanted an iceberg image to illustrate this journal entry about art pricing, but I didn’t want to use stock graphics or to draw one. Everytime I considered something else, I balked. It had to be an iceberg. So, being fresh out of tickets for a North Atlantic cruise, I improvised. Turns out the head-of-iceberg-lettuce-as-stand-in-for-iceberg-metaphor works even better, as we shall see.
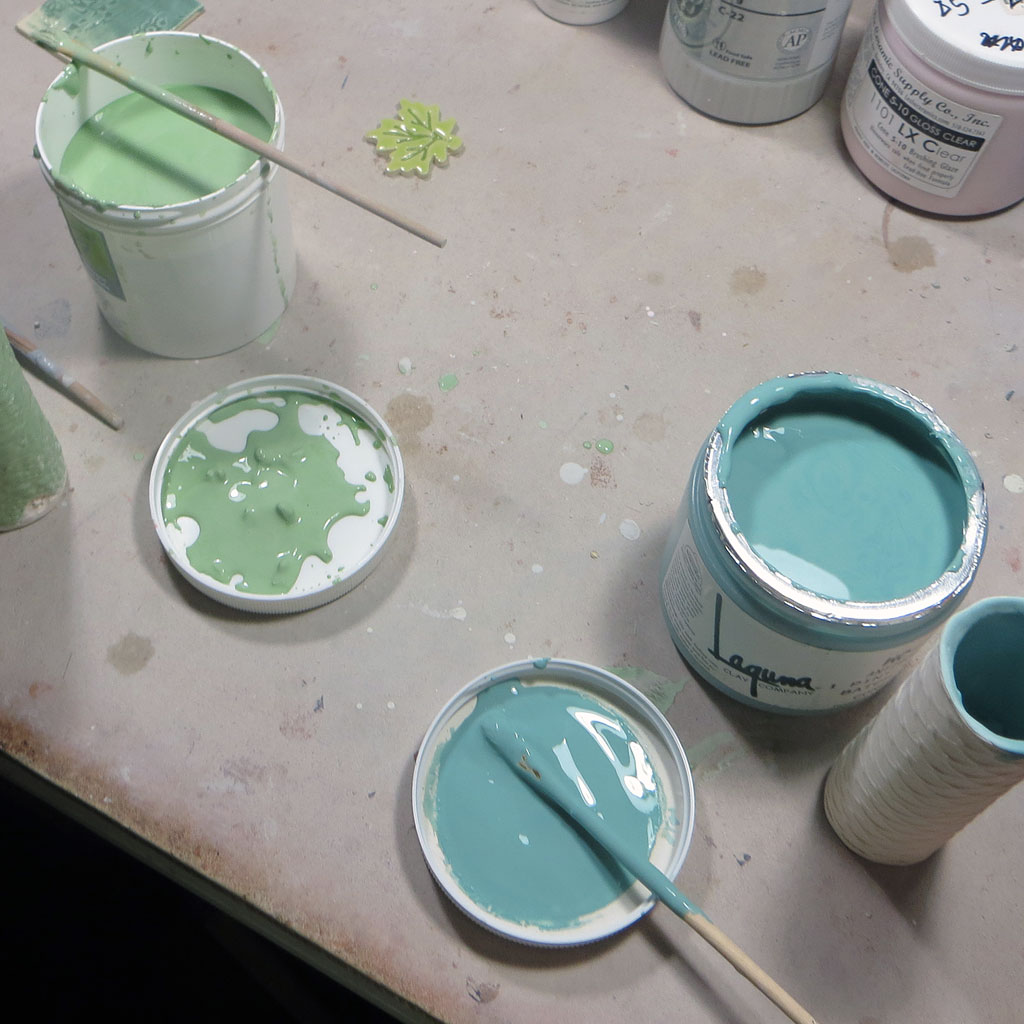
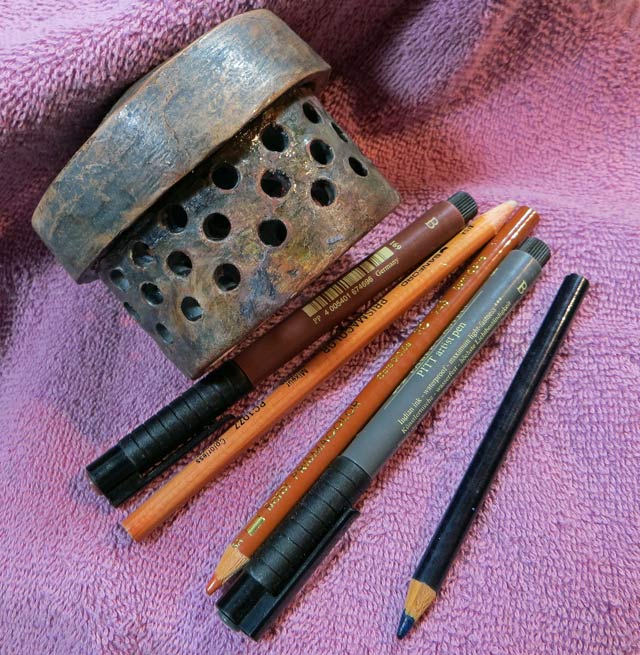
File this in the How-To Category. Specifically,“How to Do an Easy, No Paper or Smart Phone Needed, Foolproof End-run Around Your Faltering Memory When It Comes to Being Certain of the Answer to the Question ‘How Many Glaze Coats Have I Brushed On So Far?’ and Other Mnemonic Devices.”
The Summer Re-Run Blog Posts are running down. This might be the last one, but it’s a goodie; one where the comments are probably more interesting than the post itself. Originally published September 26, 2012, it speaks to a grown-up awakening regarding resources and costs. And while this is still a great method, I no longer work this way and my clay scraps have been reduced to near ZERO. I will let you have fun reading about this small scale reclaiming method (and be sure to peruse the comments!) and then, in the sign-off, I will tell you what I do now…Enjoy!
So, how is it that I didn’t learn this early on in my clay career? And, even curiouser, once I did learn it, why did I not practice it until 2012? It was clearly due to a perfect storm of economics and sloth, involving
• A very handy and dirt-cheap (pun intended!) source for clay
• An all-too-convenient method of dumping all scraps into a group recycling process
• A strong streak of fastidiously-fed laziness cloaked in an utter lack of interest
I had no compelling reason to deal with my scraps. Being a slow-working hand-builder, I also just don’t create the massive leftovers like those wheel-throwing potters do, therefore I was not especially forced to deal with them. The scraps easily disappeared and all I had to do was open a nice fresh bag of just-right clay instead. It was that way for a decade.
In the past year, however, compelling reasons and needs to deal with leftovers have come to town:
• I pay retail for my clay now.
• It’s a hassle to get all those heavy buckets of dried chunks over to the college to feed to their recycle stream, and they take up a lot of room while they wait. (Plus the dog will eat them if left uncovered at his nose level!)
• I got curious about how much more work I could get out of a bag of clay if I did this.
Let’s take a look at what’s involved.
As I work, I toss my scraps into a bucket. When it’s full, I chunk them up into even-ish pieces, as in the photo up top.
Scraps get dunked and bagged.
At the end of a studio day, in preparation for the next morning, I dip those chunks – all ranges of wet to dry – handful by handful in water for a few seconds and then into an empty clay bag.
Wetted scraps sit overnight.
I wrap the bag well and let the scraps absorb the water at least overnight, but they will keep for a long time until I’m ready to reclaim.
The really messy part that I avoided until now.
Usually the clay scraps have turned into a slippery-sticky-lumpy goo. I take this out of the bag and spread it as best as I can on a flat rectangular plaster bat. The plaster is a really absorbent surface which will suck the water out of the clay in a matter of hours, but a piece of drywall or wood could work….even canvas, just change it out if it gets too damp before the clay is workable. (Newspaper or paper towels NOT recommended!)
Did I say it was gooey sticky and messy?
The plaster soaks up the water fairly quickly.
Plaster works great. When the clay pulls away, it’s time to flop it over to the other side for awhile.
Gather the now-manageable clay and wedge it.
When both sides aren’t sticky, it’s time to ball up the scraps completely and wedge to create as even a texture as possible, in both wetness and consistency. You can throw the lumpy balls onto your wedging surface to compact and condense even further.
Pound it into a thickish slab.
Use your fists or something like this firm-squishy bouncy bonker, and flatten your wedged lumps of clay to pancakes about 2 inches thick.
Roll the slab thinner.
Then using a slab roller or a rolling pin and gauge sticks, roll the thick slabs into thinner ones. Alternatively, you can skid the thick slab along a surface to thin and stretch it by tossing it slightly sideways.
Poke holes in the inevitable air bubbles.
Air bubbles aren’t the bane for hand-building that they are for wheel-throwing, but it’s still nice to remove the obvious ones.
A few fresh new slabs from spare parts.
Continue to roll out as thin as you need for your project. I always feel rich to get this much more usable clay out of a bucket of scraps.
And that’s the easy illustrated why and how of getting the most out of your bag of clay! Do it and revel in your own bumper crop.
~Liz Crain, who now pretty much uses ALL of her clay the first time around by keeping scraps workably moist and then either generating all sorts of rolled, textured and cut test tiles and tubes which she bisques and keeps on hand for quicker answers to surface design/glazing possibilities AND/OR she forms the wet pieces back into small balls and makes lovely spontaneous pinched pieces, some of which are keepers, the rest are also testing candidates.
The Summer Studio Journal Re-Runs just keep on comin’! This post from August 22, 2012 is essentially a reply to an email query, as you shall see. I have added a few more resources that I have learned of in the past five years, but other than that, it’s a great guide, so here it is:
I don’t get a lot of emails from complete strangers, but after a few years of an active festival, gallery and online presence, I’m starting to.
Most writers want to share a specific resource, ask an art business question, or even commission me to make something special. I take these conversations as they come and generally enjoy the new connections.
This one, however, was from a person new to ceramics in a country on the other side of the blue Pacific. The subject line read “admire your work.”
She explained she was seeking ways to decorate her ceramic sculptures without further firings. She knew it was called a Cold Finish, but besides paints, she was finding precious little information about it. She had miraculously stumbled across my work and was wondering how I got my pieces to look like they did. Was any cold finishing involved?
I sat down to respond to her with a few ideas and out popped the following email, which does an incredibly better job of listing Everything I Know About Cold Finishes than I ever would have written without the compelling urge to help another beginning ceramics enthusiast. It’s one more reason I enjoy ceramics: we are a community of sharers.
In that spirit, I thought to reproduce the email exactly as I wrote it the other day, with only some added bolding as enhancement. Here it is:
Hello Catherine and thanks for your lovely words!
Most of my finishes are fired to cone 6 oxidation (electric kiln) but I have a few cold finish techniques I can share with you.
Sometimes my firing results are close but not quite what I want or I want some added bling. At those times I have found the following list of products to be useful:
Sumi Ink and India Ink, brushed into the lines and recesses of a piece and sponged off. Nice! Golden Acrylic paints, in thin washes. I especially use Micaceous Iron Oxide which not only has fun tiny mica flecks, but I’ve learned (by accident!) that it will last through a firing….so sometimes I fire it on too. Oil paints and watercolors are nice too, but I tend to reach for them less. Prismacolor colored pencils: a waxy drier finish which is lightfast and can be layered for subtlety. They won’t slick to glassy glazes and do better over very dry surfaces.
(Which reminds me: most of these products are lightfast and archival, but probably not for outdoors.)
Faber Castell makes a line of PITT artist pens which have tiny ink-based pen tips, and large or small brush tips that I use more for changing the tone of an area or linear emphasis. Very nice! Amaco makes a range of colored metallic waxes called Rub ‘n Buff which are useful for a bit of gold, silver or even blues, reds and purples, on highlights. Can help with a worn antique look. And lastly are two brands that market adhesives and thin gold leaf variations : Old World Art and Magic Leaf. This is if you want a bit of true shiny non-tarnishing gold!
For a matte sealer, which is to me is better than a shiny clear coat: Delta Ceramcoat Satin Exterior/Interior Varnish.
That’s my brain dump. If I think of something else, I’ll send it along. I don’t know if these products can be had locally for you, but online is sure to get you most of them.
I wish you all the best, Liz
P.S. Most books don’t cover “post-firing” finishes, but I found an excellent discussion in Robin Hopper’s book Making Marks. He also discusses sandblasting, acid etching and cutting elsewhere in that book. There, you have all I know!
And there, you Dear Readers now have it! I would add today that these types of cold finishes are more suited to sculptural work. If you put them on pieces used for food, even on the exterior to avoid possible leaching and toxicity, they will still suffer from the washing.
Since 2012, I have also discovered an outdoor sealer that doesn’t change the look of unglazed ceramic sculpture or grout: Glaze ‘n’ Seal Waterbase Stone Sealant “Natural Look”Impregnator.
And, lastly, while they involve another very low temp firing so are technically not Cold Finishes, playing with lusters, china paints and decals is pretty fun and adds a whole other dimension to things.
~ Liz Crain,who knows it’s alla work in progress and hopes to be saying “Ancora imparo” – I am still learning – at age 87 as Michelangelo did.
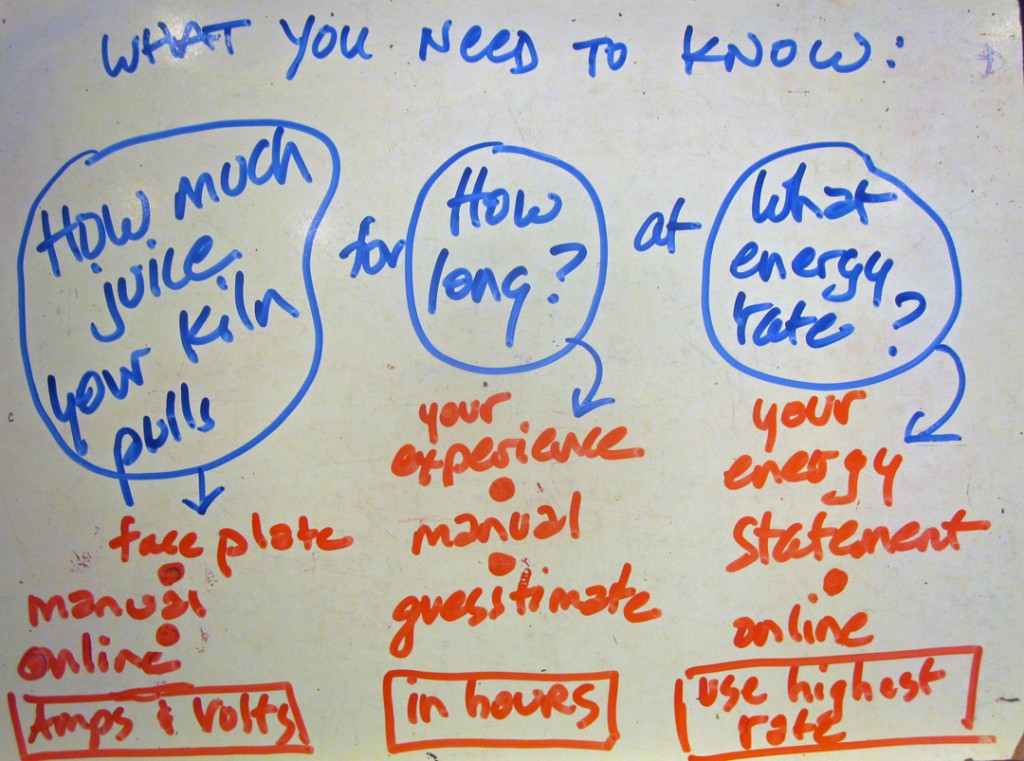
Here’s a Studio Journal Post that I could probably re-run annually, but am just getting back to after over three years. Boy Howdy, things have changed since its original date of January 18, 2014! I ran the numbers again (they’re the same for the kiln’ s power and firing hours, but keep in mind that older elements make a longer firing time.) The electric rate, however, has increased (shock!) and this kiln of mine now costs 30% more to run. The procedure described here is still the same, but know that the cost reflects a “worst case = most expensive” scenario. I never run my kilns at the highest rate. I am on a Time-of-Use plan and pay close attention to when rates are lowest, usually firing after 8PM. It’s a small habit to develop, but worth it. Maybe you’re solar-powered or have a home battery system, the point is to know your costs. So, here’s the original posting to help you figure it out:
This website uses cookies to enhance user experience and to analyze traffic on our website. If you continue to use this site we will assume that you are happy with it.