Yay!
You found me and my art! Let’s look around…
For my Bio and Artist Statement see the ABOUT section, always a work in progress.
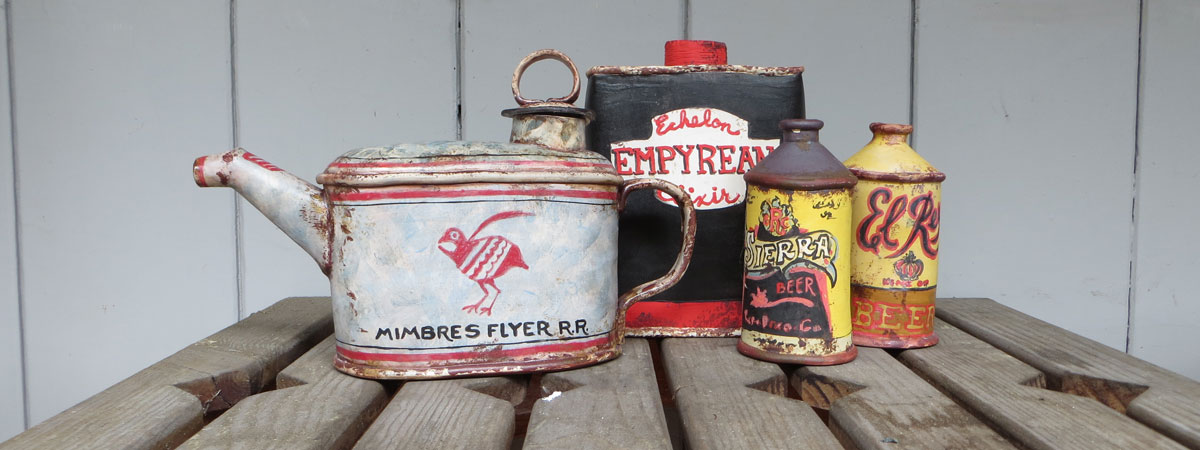
While there, enjoy the variety in my Portfolio where you can see the range of my two decades of ceramic work. Soon you’ll see my paintings and collages as well.
You are also invited to delve into over ten years of the Studio Journal, which is easily searchable by key word or date.
For available work, check out the offerings in my SHOP.
I’m glad you’re here for any and all of it. Drop me a line any time on the CONNECT page. I welcome your questions and comments and respond fairly quickly.
Yay!
~Liz
Studio Journal
Pirouetting Off
While I aim to write something here once a month, the calendar commitment has never been the reason I write ...
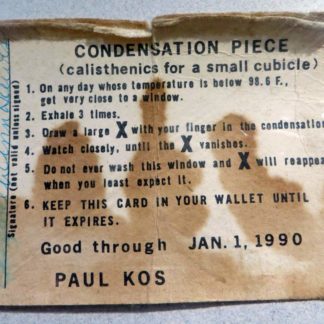
(calisthenics for a small cubicle)
Once upon a time a college senior walked into her campus art museum to see some Conceptual Art in the ...

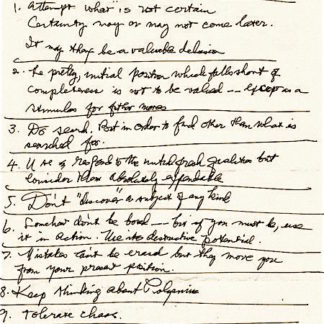
The Coyotes of Doubt
Some time in the past thirty years I encountered a brilliant bit of metaphorical imagery which described the creative process ...

The Double Whammy of Gauges and Shrinkage
Well, we probably don't spend a bit of time contemplating gauges and shrinkage, unless we have to, right? If you ...